Best Spots for Placing Deer Trail Cameras to Catch Big Bucks
Best Spots for Placing Deer Trail Cameras to Catch Big Bucks

Have you ever placed a deer trail camera in a seemingly perfect location, yet ended up with photos of squirrels, skunks & maybe a couple of does? Blurry shots of the sky, deer legs, or just grass can be frustrating. Even worse—no photos at all because you forgot to switch the camera on. A deer trail camera is a powerful scouting tool. It can significantly boost your odds of tagging a big buck. However, success depends on proper usage.
Placement matters. Cameras need to be in the correct location & set up the right way. For beginners, this can be intimidating. Questions arise: where do you put deer trail cameras? What are the best settings?
Don’t stress. Finding the right places for deer trail cameras to get quality images isn’t complicated. Experts recommend basic, practical strategies to quickly set cameras in high-activity areas. Learning where to position them for big bucks takes just a bit more knowledge.
Basics: Where to Put Deer Trail Cameras
A freshly cut, secluded cornfield edge often attracts a big buck.
Attracting deer starts with setting cameras in natural congregation points. Key areas include feeding spots, travel routes, deer trails & other hotspots. Fields, food plots & clear openings are classic camera locations. These areas attract deer & offer broader views for better images. However, selecting the right tree or post placement along fields can be tricky. Follow these pro tips.
Focus on Field Edges
Ted Mark has guided whitetail hunters for over 20 years across multiple states. He currently runs up to 80 cellular deer trail cameras across his leases. His advice highlights specific field scenarios.
“During summer, I prefer spots where different crops meet. For instance, corn & soybeans or corn & alfalfa on a corner,” Mark said. “Bucks love those field corners. They walk those edges regularly.”
Mark also targets licking branches along field edges. These low-hanging branches serve as scent posts where bucks leave their marks. “Deer use them all year,” Mark added. “When you walk along the edges, you’ll spot branches they’ve been chewing or mouthing.”
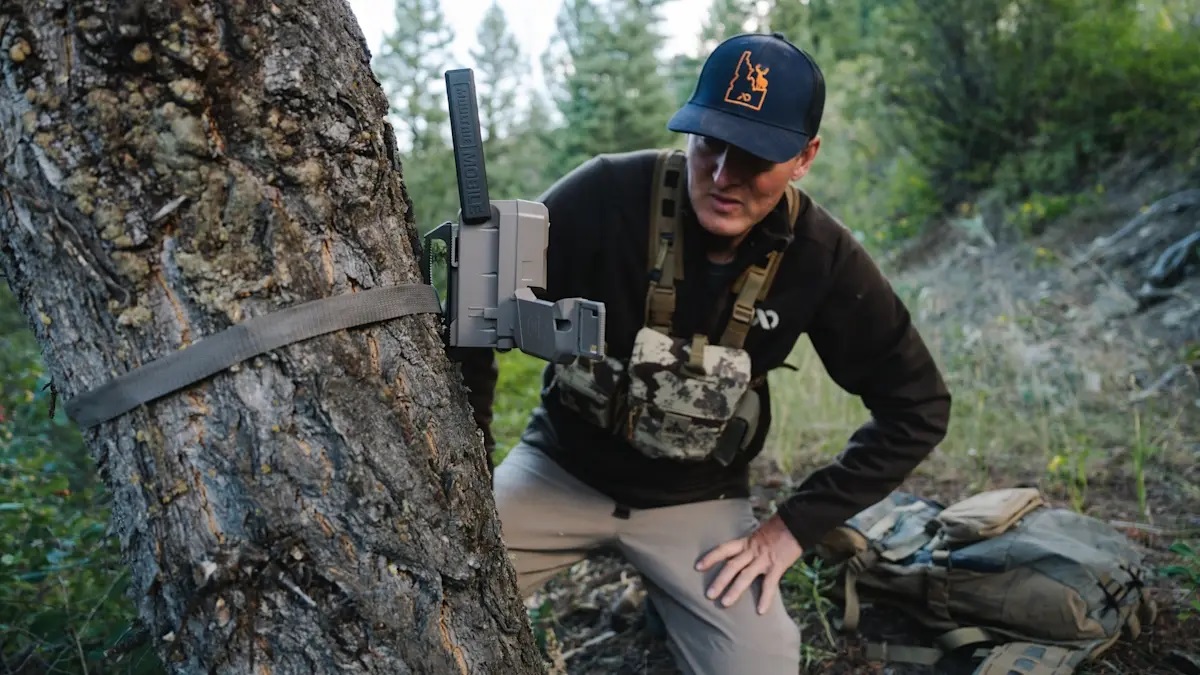
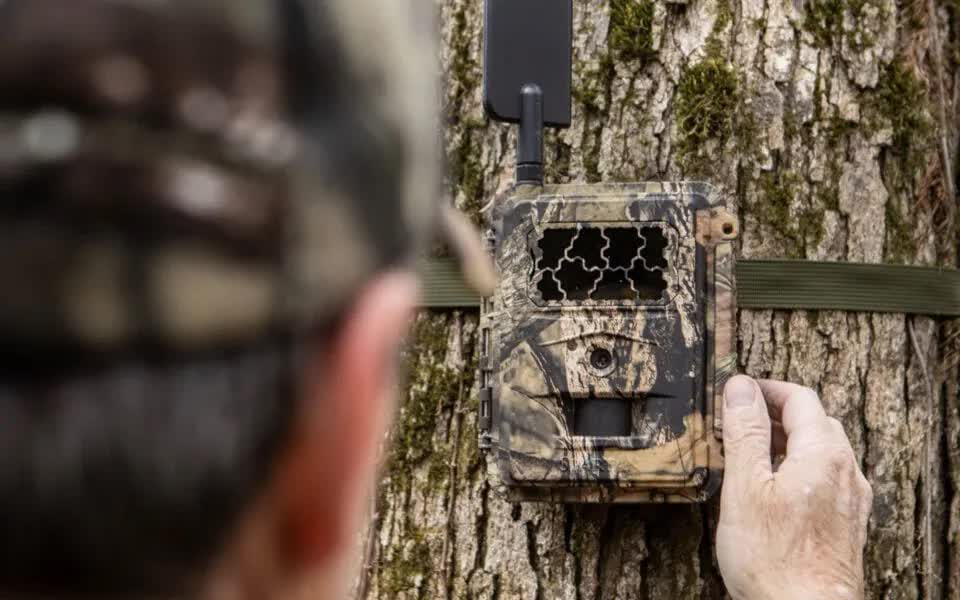
Setup Tip: Sometimes finding the perfect tree for camera mounting is tough along field edges. Use a deer trail camera mounting post to aim your lens precisely. Adjust the angle slightly north or south to reduce glare at sunrise & sunset. Standard trail cameras with SD cards work well here since minimal intrusion is needed to check them. While cellular hunting cameras are convenient, they aren’t always necessary for field-edge setups.
Bust Out a Mineral Block
Mark also uses mineral sites to draw bucks into camera setups. In spring & summer, whitetails crave minerals. Placing blocks allows you to attract deer instead of guessing their patterns. These sites let you optimize camera positioning too—facing north or south avoids sun glare. Always verify mineral usage is legal in your state first.
“I’ll toss a mineral block into an out-of-the-way draw, put a camera on it & see what happens. It’s surprising what shows up in those overlooked areas,” he said.
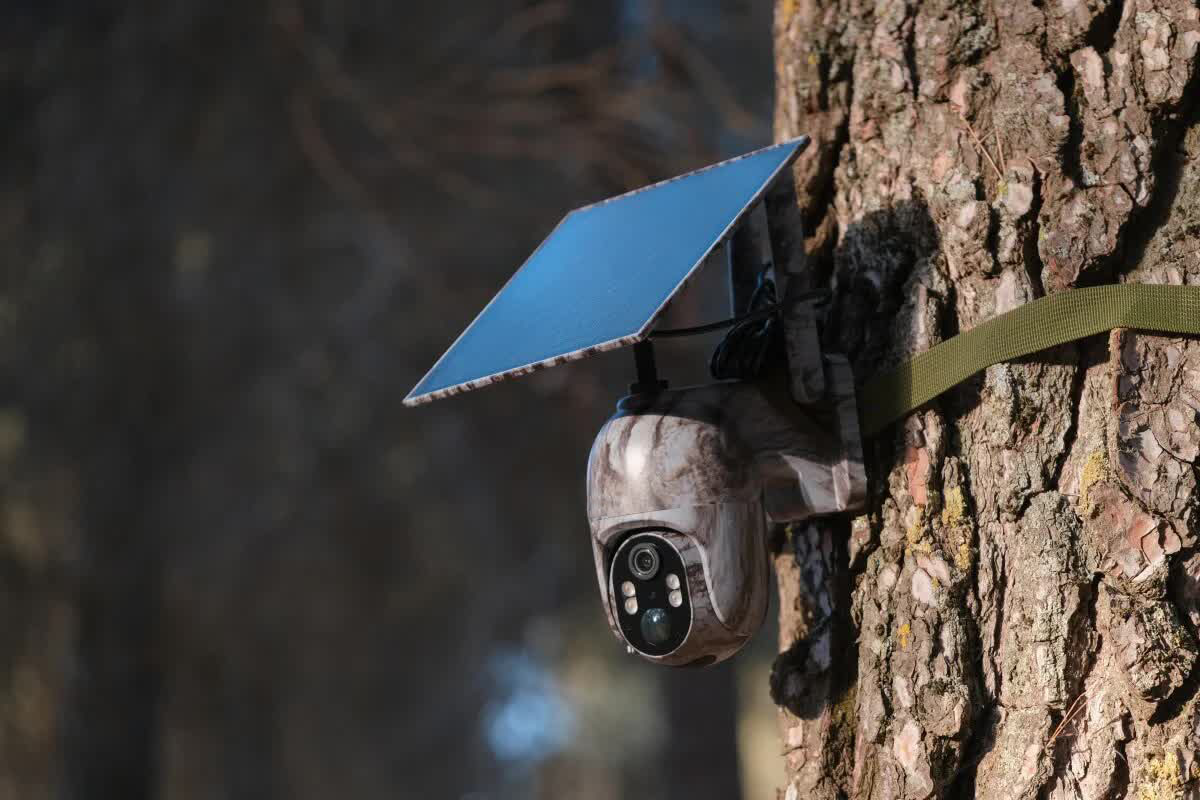
Setup Tip: Unlike bait sites, mineral setups are often low-maintenance. Once placed, they can be left for extended periods. This makes cellular trail cameras ideal for monitoring. Keep in mind, mineral sites can generate a lot of images. This may quickly deplete data plans & drain batteries. Adjust the camera to upload data once per day. Lower multi-shot modes & set the capture delay to 30 seconds or longer.
Top 5 Spots for Placing Deer Trail Cameras to Capture Big Bucks
Every hunter, whether novice or seasoned, dreams of seeing trail-cam photos of massive bucks. Trophy whitetails can be elusive. That leads some to believe cameras must be set in secret, special locations. While that holds some truth, it’s often not necessary—provided big deer are nearby. Below are five ideal locations & times to capture impressive buck images.
1. Bait & Mineral Sites: Not all states permit this method, so check regulations first. Still, few things attract deer to a cellular trail camera like a corn pile or bait site. Big bucks might grow wary of bait during hunting seasons. However, late summer sees them more relaxed, focused on feeding. It’s also prime for mineral sites as antler growth peaks.
Setup Tip: Bait sites need regular maintenance, requiring frequent human activity. Traditional trail cameras shine here. They save batteries better than cellular models & often produce clearer photos. Swap out SD cards when refilling bait to minimize disruption.
2. Entry Trails to Summer Feeding Areas: During late summer & early fall, bachelor groups of large bucks frequently hit food plots or agricultural fields. Position your camera near a good entry trail at the field edge, aiming toward the food source.
Setup Tip: For natural movement, adjust cameras to high sensitivity. Use multi-shot bursts with minimal delays between triggers. This ensures bucks in motion are captured effectively. If moved to bait sites or mineral licks, adjust these settings to avoid draining batteries too quickly.
3. Mock Scrapes: If bait & minerals aren’t options, mock scrapes are an excellent alternative. Scrapes on field edges or food plots can be productive year-round. Early fall often highlights these locations. Deeper scrapes in staging areas or woods gain importance as the season progresses.
Setup Tip: Cellular trail cameras are perfect for mock scrapes, especially from mid-October through December. This setup increases the odds of daytime photos of big bucks. Should you capture one, drop everything & go hunt.
4. Rut Funnels & Pinch Points: During the rut, big bucks cover vast distances. Cameras should focus on natural pinch points or funnels. Examples include saddle ridges, bench trails, creek bottoms & the heads of washes.
Setup Tip: Opt for cameras with quick trigger speeds. Avoid perpendicular placement to trails. Instead, angle cameras quartering or parallel to the direction bucks are traveling.
Troubleshooting: Avoid Placing Deer Trail Cameras in These Spots
New trail-camera users often make one common mistake. They set cameras in areas that appear promising but don’t yield results. Mark highlights animal behavior to avoid unproductive setups.
For instance, creek crossings & fence gaps often disappoint. Deer tend to move quickly in such areas, making it harder to capture clear images. Water holes in summer are another spot Mark rarely uses.
“Bucks don’t hit water holes as much in summer,” he explained. “Does use them heavily, especially when lactating. Bucks, on the other hand, rely on morning dew or moisture from food sources.”
Adjusting Trail Cameras for Seasonal Deer Patterns
Seasonal changes in deer behavior also dictate camera placement adjustments. As summer transitions to fall, Mark shifts focus to deeper timber locations. Active scrapes & licking branches also become key. While bucks use licking branches year-round, most scraping occurs in October & November across the North.
Interestingly, Mark doesn’t run cameras all year.
“I start placing cameras around July 10,” he said. “They stay active through summer, fall & into mid-January. I don’t run them early unless I’m scouting turkeys. My main use is for summer, fall & winter—to see which bucks survive the season.”


