|
How to Optimize 4G Trail Cam Use Throughout the Hunting Season
September 13, 2024
How to Optimize 4G Trail Cam Use Throughout the Hunting Season
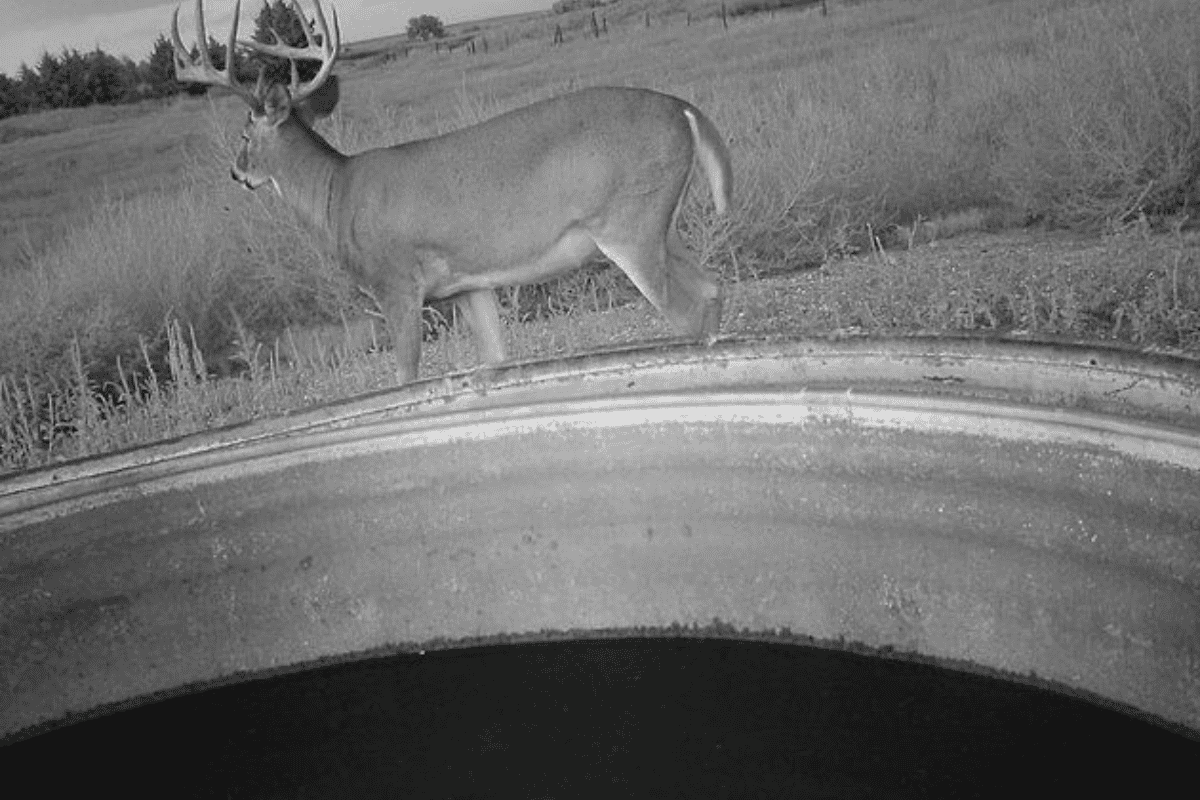
I vividly recall the excitement of checking my first trail camera. The clear images of bucks moving naturally through thick vegetation near apple trees felt like having a security camera in their living room. I entered the trail-camera game nearly a decade ago and, like many bowhunters, I haven’t stopped since.
Few tools have revolutionized deer hunting as much as trail cameras. They provide an unparalleled glimpse into the behavior of the deer you're pursuing. However, to fully harness the power of these scouting cameras, it’s essential to understand where, when, and how to position them. This is especially important during the different phases of the hunting season. As buck behavior shifts throughout the early season, pre-rut, prime-rut, and post-rut periods, I adjust the placement of my cameras accordingly.
Camera strategies may also vary depending on the landscape of your hunting area. A property with abundant conifers and strong thermal cover could attract many deer in winter. However, without enough food sources, that same property might support far fewer deer in late summer or early fall compared to neighboring lands with oaks or early-successional vegetation. Knowing how and why deer use your property throughout the archery season is essential to avoid a camera dry spell and ensure you gather the necessary information.
Early Season
On my Wisconsin property, I run seven cameras across 115 acres throughout the archery season. I typically set up the cameras in early July to start building an inventory of local bucks. My aim is to capture as many buck photos as possible. In the two weeks leading up to opening day, I make sure several cameras are positioned over my two perennial clover food plots and a staging area at the head of a ditch, where a few apple trees stand. This staging area, positioned between two large ridges, consistently produces the most and best-quality buck photos in late summer and early season. The space itself is no bigger than a basketball court.
I believe this location is effective for two main reasons. First, it sits between two dense bedding areas on opposing ridges, making it easy for bucks to emerge from cover on either hillside to access the apples. Second, its low-lying topography allows cool nighttime thermals to collect, offering relief for bucks trying to escape the summer heat.
Since baiting is illegal in my county, positioning cameras over field edges, water sources, or food plots are also great alternatives. A heavily used creek crossing, pond, or man-made waterhole can be ideal spots to gather information and observe natural buck movement during the early season.
When reviewing camera footage from late summer and the early season, I do so with the understanding that many of these bucks will soon shift to their fall ranges and disappear from my property. This doesn’t mean you won’t see them again during the rut, but it’s important not to assume that every buck captured on camera in August will still be around by mid-September when the season opens.
If your property has a scarce resource, like the only water source within 500 acres, this becomes a key factor in how you should use your trail cameras in the early season, as well as during the rest of the season. Another critical aspect of early-season camera strategy is identifying where bucks are moving during daylight. If you have a buck consistently moving in daylight during the summer, it’s wise to act aggressively and move in for the harvest.
Pre-Rut
During the pre-rut (around Oct. 15-28), I still place cameras on food plots, but my main focus shifts to monitoring scrapes that may lead to feeding areas. Like most hunters, I concentrate my efforts on hunting during the rut, so pre-rut camera strategies are crucial for a few reasons. First, by pulling these cameras in late October, I can gather valuable information on which bucks have remained on the property. This data helps me plan my rut hunts during my vacation. Second, I can observe whether bucks are starting to move during daylight hours and determine which weather conditions trigger that movement. This helps me choose the best weather for each stand. Late in the pre-rut is the perfect time to position cameras on scrapes, as scrape activity is at its peak. I usually switch to "picture plus video" mode over scrapes to ensure a clear view of the bucks. Bucks often move their heads up and down while scraping, so relying solely on picture mode could result in poor images. A short video also helps determine where a buck goes after visiting the scrape.
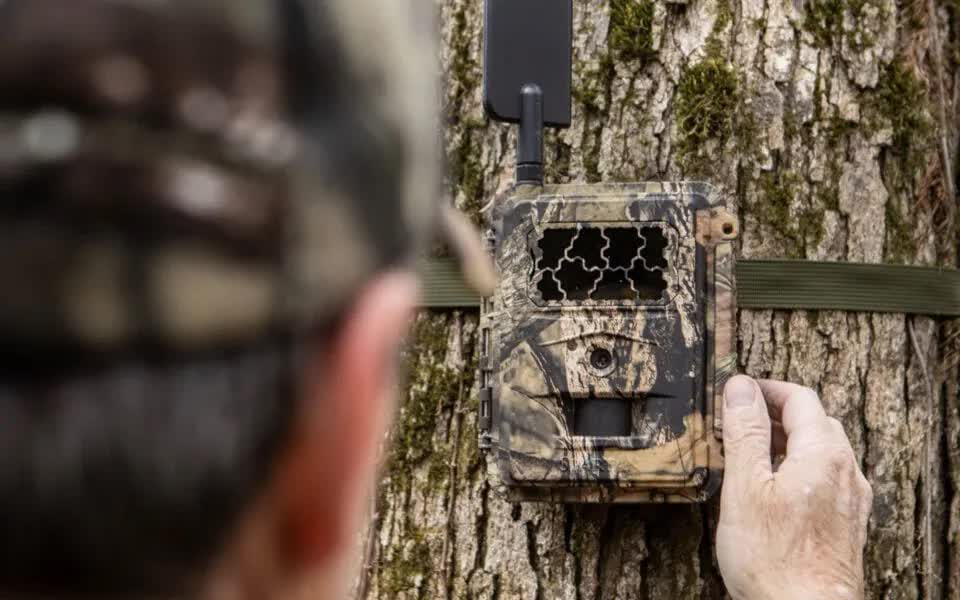
When positioning a camera over a scrape, mount it in a location where deer won't easily spot it. If you're concerned that cameras might spook deer, hang them higher or further away from the scrape. In my experience, bucks react differently to cameras. Some are very cautious, while others seem unfazed and are quite photogenic.
As for timing, Oct. 20 is an excellent date to move cameras over scrapes. While I don't regularly use deer urine while in a treestand, I do use scent drippers over scrapes and have seen good results. However, it's important not to overdo it with mock scrapes. As Jeff Sturgis from Whitetail Habitat Solutions has pointed out, creating too many scrapes can diminish the effectiveness of a single "hot" scrape. Spreading buck visits across multiple scrapes can dilute activity, whereas fewer scrapes near your bow stand will concentrate deer visits. I used to create too many mock scrapes, but I've since reduced them to focus on a few key locations.
It’s also essential to minimize human scent when creating mock scrapes or installing and checking cameras in these spots. I spray my boots with odor eliminator and avoid touching vegetation. If possible, deploy cameras in the middle of the day and drive directly to the spot using an ATV. In areas with a lot of hunting pressure, I’ve noticed that deer are less spooked by vehicle scents and sounds, especially if you check cameras regularly and deer are somewhat used to your presence throughout the year.
In summary, the pre-rut is all about locating the bucks' fall range and preparing for that critical moment when they start moving during daylight hours.
Peak Rut
Peak-rut trail camera strategies are certainly significant, though the payoff may not come until the following season. Even during the peak rut, I still keep a few cameras on scrapes, despite the fact that bucks tend to focus more on travel routes. My primary focus is placing cameras along major trails, especially those near doe bedding areas.
If you have a week or more of vacation to hunt during the peak rut and can access cameras without disturbing the deer, checking cameras on your way to a stand could help you "pattern" a buck and successfully tag one. However, most hunters only have a limited number of days to hunt and may not have the luxury of experimenting with camera placements during the rut. For instance, if you only have five days to hunt the rut each year, it can be difficult to determine which stand location might have a hot doe nearby. I used to think that placing cameras near a stand was too risky and put excessive pressure on bucks. But if you position the camera out of sight and only check it when you’re going in to hunt, it can be a beneficial tactic. On the other hand, frequently checking the camera without hunting the area could harm your chances for future hunts.
Even for those with limited hunting time, all is not lost. Rut patterns do tend to repeat year after year. Regardless of moon phases, wind, rain, or temperature, my 4g trail cams have consistently shown daylight buck activity from Nov. 3-8. If I have less than a week to hunt, those are the days I aim to be in the woods. If your cameras aren’t capturing the action you expect, it doesn’t necessarily mean the bucks aren’t there. During the peak chasing phase, bucks can take unpredictable routes from one area to another. Often, bucks will cut across doe trails and walk perpendicular to them, trying to pick up a doe’s scent, which might cause them to bypass your cameras. Last Halloween, a family member harvested a buck that took an unusual path, ending up just seven yards from the stand. There’s no guaranteed formula for peak-rut trail camera strategies.
Post-Rut
Post-rut camera tactics may be less significant for hunters who focus all their efforts on the rut. However, for those still seeking a buck by the late season, it can be the perfect time to pattern a deer around a food source. Since bucks can take any trail to reach food, positioning cameras directly on the food source is likely the most effective approach. One technique I've found useful during late season is using the camera's time-lapse mode to cover the food source for the last two hours of daylight. If the food plot is not too large, this method will miss very little activity.
If you don't have a food source available, focusing on easy travel routes along sunlit hillsides can also be a valuable way to gather information for future hunts. In areas where it's legal, bait and supplemental feeding will attract deer and help you determine what animals are in the vicinity.
In 2017, much of the nation experienced a significant acorn crop. If there is little snowfall during the late season, don't overlook placing cameras in the woods to capture bucks feeding on leftover acorns.
Conclusion
For modern bowhunters, improved hunting success often stems from the smart use of trail cameras. No matter what stage of the season you're in, I’ve learned that prime camera locations are usually discovered through trial and error. Give each camera placement at least two weeks to determine if it's consistently picking up movement.
It may take a few seasons, but once you begin studying your hunting area and how bucks move through it, your cameras will provide essential information. With that knowledge, your confidence as a hunter will only grow.
Recent Posts
-
Solar Panel Failing to Charge Cellular Camera Battery: Causes & Fixes
 March 31, 2025
 -
PoE vs. PoE+ vs. PoE++: The Key Differences
 March 28, 2025
 -
Can a Trail Camera Be Used for Security?
 March 22, 2025
 -
Key Factors to Keep in Mind When Selecting a Solar Trail Camera
 March 18, 2025
 -
How To Pick The Right Solar Cellular Camera
 March 18, 2025